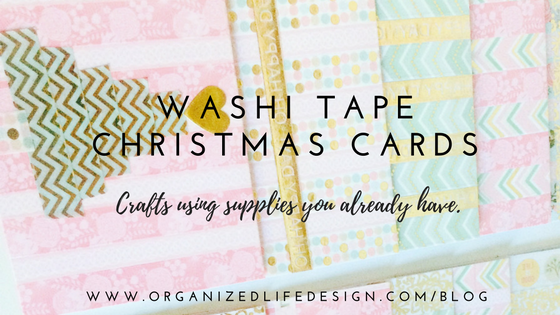
Washi Tape Christmas Cards
Washi Tape Christmas Cards comes from our new friend Jen from Craftic! We met on the internet (how else do you meet people??) and her site is just fabulous! She writes a crafting and DIY blog based on using supplies you already have. You know, from all those Hob Lob and Mic sale sprees. 😉
You already know my obsession with de-cluttering so why not create in the same process! I’m so tickled she put this together for us.
Hi, I’m Jen! Let’s make some washi tape Christmas cards!
 I rock a lot of polka dots.
New Girl is one of my favorite shows, as well as Bob’s Burgers and Crazy Ex-Girlfriend.
My favorite flowers all start with the letter D – dahlias, dandelions, and daffodils.
In the last couple of years, I’ve started my own tradition of sending out holiday cards to friends and family. The writing of holiday cards is a bit of a lost art and I really want to keep the practice alive. Who doesn’t like a personalized message in the mail amidst all the bills and junk mail? I certainly love a nice message from a friend who I haven’t heard from in a while!

This year, instead of buying cards, I have decided to make my own! Since I’ve been attempting to minimize my craft stash, I’ve been quite aware of my hoarding tendencies (it’s okay, we all do it, haha). If you’re like me, you may have been accumulating washi tape from all the cute shops on the Internet and sales (oh the sales). What better way to declutter my craft closet than to put all that washi tape to good use?
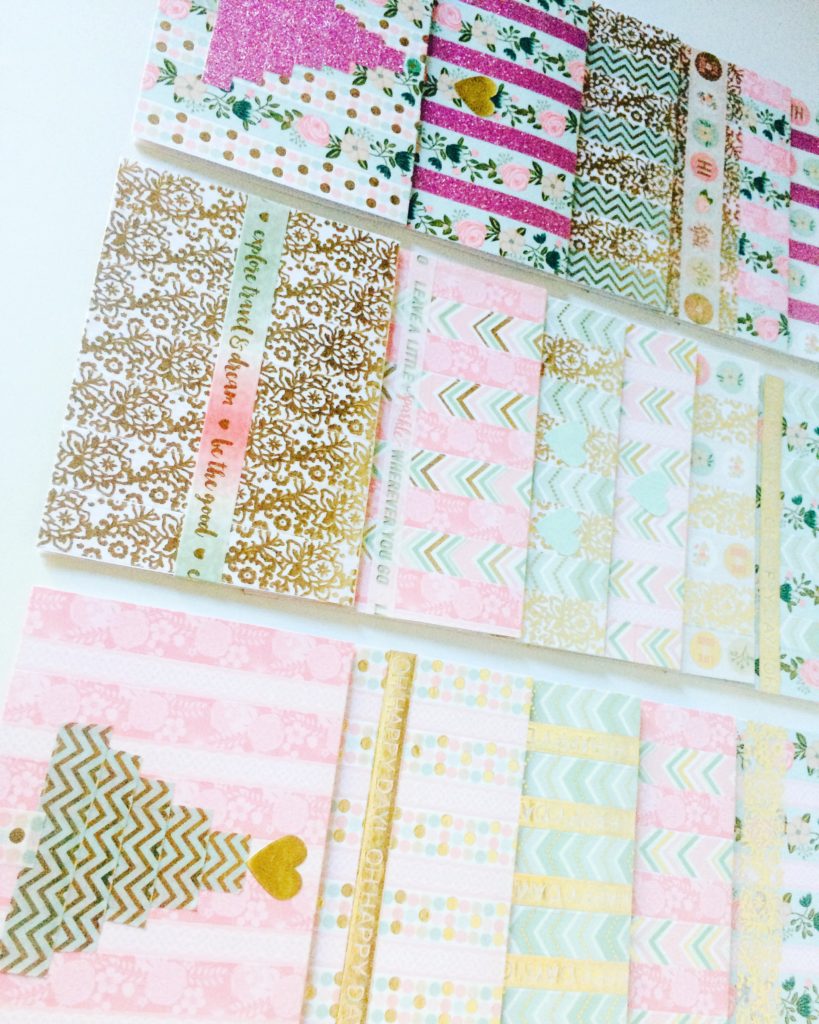
In order to create a cohesive collection of holiday cards, I picked out a group that would work well together. This was from the Recollection’s washi tube with plenty of pinks, teals, and gold.
How beautiful are these?!
Since I didn’t own any cardstock, I bought a pack of 25 blank cards and envelopes from Michael’s. With a 50% off coupon, it came out to $2.50. Yep, the washi tape Christmas cards are only 10 cents each – talk about affordable!
With my washi tape and cards ready, I set out to work. I combined the shiny with the less decorative, paired elaborate designs with simpler ones, and just played around to get as many combinations as I could. After creating 18 cards, I was down 1 washi roll and several were almost done. If you use a smaller set, you could easily use all of your rolls and have more space in your craft closet (maybe for new washi rolls? ha!).
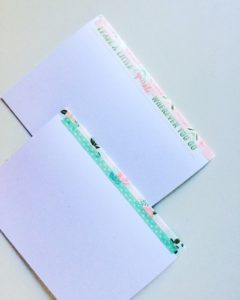
With the vertical strips, I left about a centimeter of extra washi tape at the top and bottom of each of the washi tape Christmas cards. When folded over, the ends will be on the top of the back of the card and the top of the inside flap. In order to secure them in place, I like to add a horizontal strip of washi. This “Leave a little sparkle wherever you go” washi was the perfect last touch!
To recap, the steps to make washi tape Christmas cards are:
Step 1.
Use cardstock to make blank cards and make matching envelopes or buy affordable pack of blank cards & envelopes.
Step 2.
Choose your washi palette – select a wide variety of patterns that have similar colors to create a cohesive card collection.
Step 3.
Cover cards with vertical strips of washi in any combination you’d like (leave a centimeter at top and bottom to fold over edges). Layer horizontal strips, make a washi tree, star, or whatever your heart desires. You can really go wild with ideas at this step!
Step 4.
Add horizontal strip of washi over ends to secure them. To add some flair, use a washi tape with a nice message on it or a solid color that matches your card.
Step 5.
Optional step: decorate the envelopes with matching washi tape to complete the set 🙂
If you feel inspired to make these washi tape holiday cards, please tag your photos #crafticProjects on social media. They may be reposted (with your permission of course!)
For more fun crafting ideas from Jen, follow along on Instagram or you can email her Hello@craftic.com